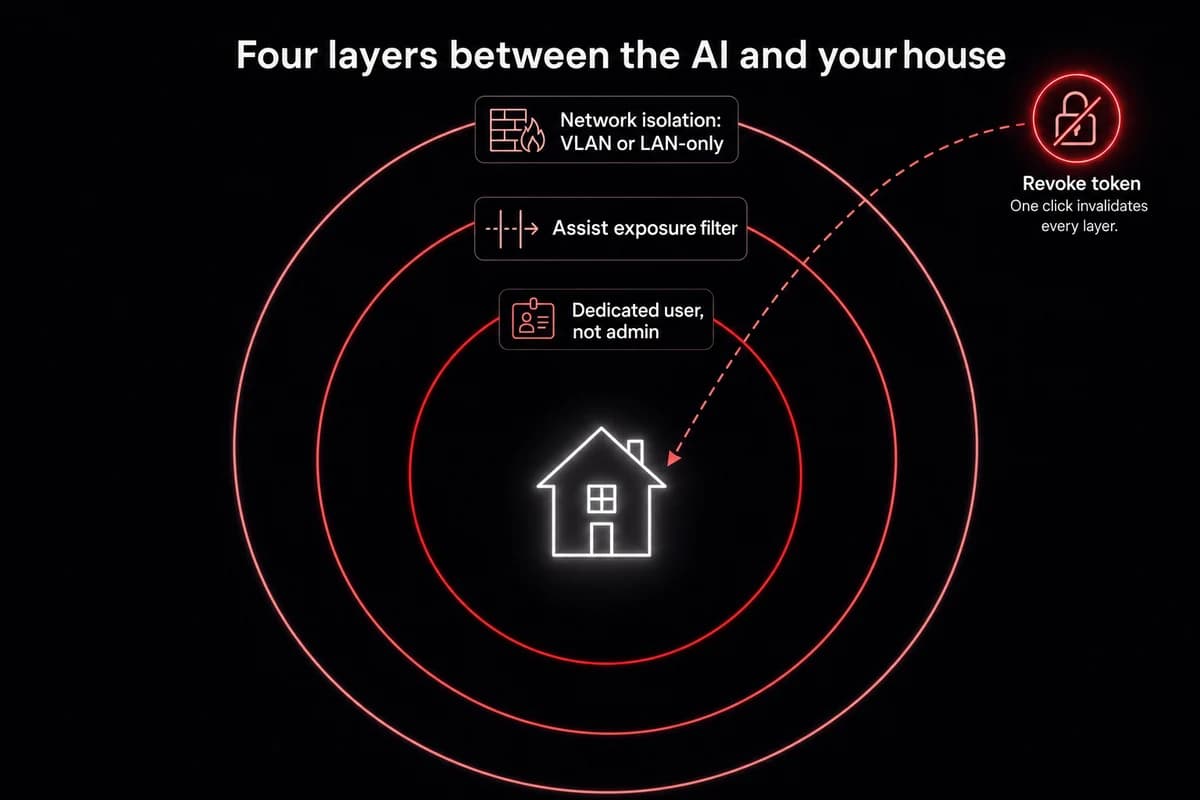
TL;DR: The bridge is Home Assistant's "MCP Server" integration plus OpenClaw's mcporter skill, joined by a long-lived access token and one chat command. The whole install runs about 12 minutes. The token has full Home Assistant admin rights and prompt injection through sensors or calendar entries is real, so build on a dedicated Home Assistant user with the Assist exposure filter on, and run a tools-capable Ollama model so the monthly token bill is zero.
An LLM with my Home Assistant token is a stranger with my house key. OpenClaw gives that stranger a name and a job; the long-lived token decides what he can touch.
Two install paths on the OSS side, plus one managed wrapper. Here is what you can build, what you have to lock down, and a config flag that took me twelve minutes to find at 2 AM.
One boolean, no error in the logs. I will pay it off in section six.
What an OpenClaw home assistant integration actually is
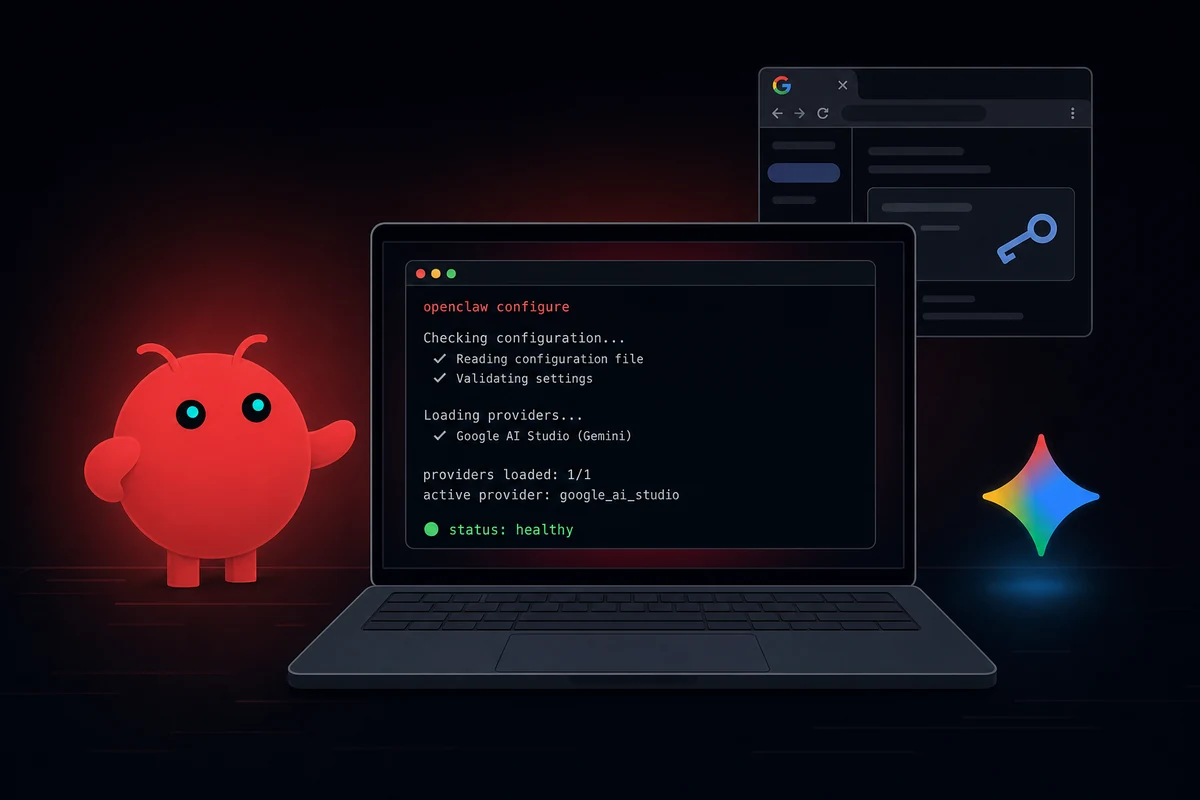
The integration is one service talking to another over MCP (Model Context Protocol). Home Assistant exposes its devices through a built-in MCP server; OpenClaw runs as an autonomous agent and a skill called mcporter makes it speak Home Assistant's MCP dialect.
Two install routes exist on the OSS side. A community HACS custom_component registers OpenClaw as a native Assist conversation agent inside Home Assistant. A community HAOS Add-on runs the OpenClaw service inside Home Assistant OS itself. Both put OpenClaw inside your Home Assistant trust boundary.
The third route, the one I run, is OpenClaw in a Docker container on a separate host. More setup; better blast-radius isolation when something goes wrong.
This is not a Google Assistant or Alexa replacement. Latency runs slower and failure modes are weirder. What you are doing is giving an autonomous AI agent a Home Assistant skill and watching what it does.
Prerequisites and the install paths
Admin rights on your Home Assistant instance are non-negotiable. Without them the MCP Server integration will not install and the token UI is hidden. I learned this the slow way on a friend's Home Assistant build where they had handed me a "manager" role and we burned twenty minutes wondering why the integration page kept refusing the install.
Hardware needs real headroom too, especially once a local model joins the box. The practical floor is a Pi 5 with 4 GB of RAM when Ollama and Home Assistant share the same device, and even that is tight. A Pi 4 runs out of memory the moment Ollama loads a tools-capable 7B, so most production builds put Home Assistant on its own small box and let OpenClaw plus Ollama share a heavier host over LAN. Hardware sizing for OpenClaw covers the full RAM-by-model-size table if you are picking the heavier host now.
A long-lived access token on a dedicated Home Assistant user is the third thing to line up before you start. Name the user openclaw-bridge so future-you can tell what stops working the moment you revoke it. That token is full-fat Home Assistant admin, so any leaked copy hands an attacker the same authority over your house that you have, and the only way to invalidate it is from inside Home Assistant.
Where the agent itself runs is the next real choice. Three install paths, and the difference is mostly where the trust boundary lands.
| Install path | Best for | Security baseline | What you give up |
|---|---|---|---|
| HACS custom_component | HAOS users who want a native chat card without leaving the UI | Agent inside Home Assistant's trust boundary | Cannot firewall the agent separately from Home Assistant |
| HAOS Add-on | Single-box deployments, Pi 5 builds | Supervisor sandboxes the container, persistent storage managed | Same shared network identity as Home Assistant |
| Docker on a separate host | Production builds where blast radius matters | Network-level isolation, VLAN + firewall both available | ~30 minutes of plumbing up front |
Table: HACS integration vs HAOS Add-on vs Docker-on-VPS, pick by where you want the trust boundary.
I run the Docker-on-separate-host setup. The agent gets one knob to control its blast radius, the network, and that knob is mine. The HAOS paths are easier and fine for testbeds; pick a separate host once you start exposing things you would not want to lose to a prompt-injection bug.
The next section is the actual install: two clicks on the Home Assistant side, one curl command on the OpenClaw side, and a single chat sentence to wire them together.
Spinning up a Docker host, configuring VLANs, and creating dedicated users is thirty minutes of infrastructure detour before you write a single line of Home Assistant config. OpenclawVPS provisions a managed instance in 47 seconds, already isolated, already firewalled, already ready for the Home Assistant token. Plans start at $19/month.
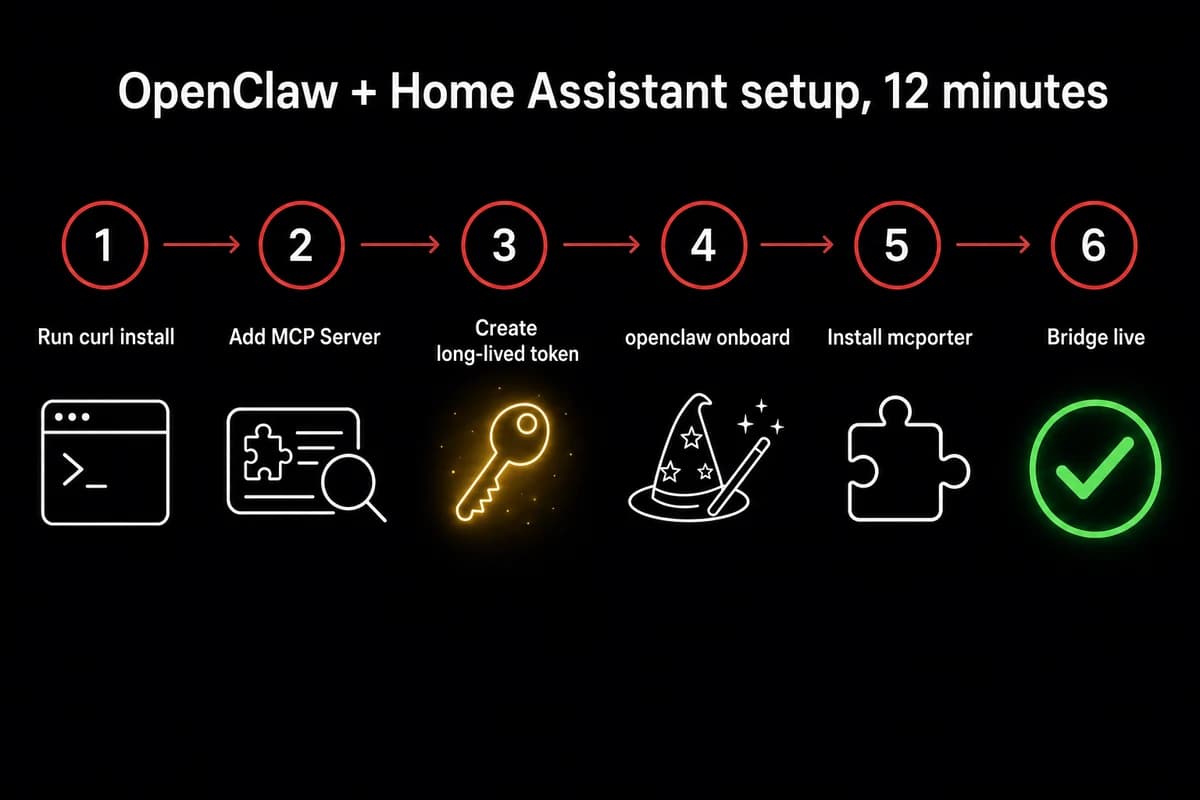
Install OpenClaw, install the MCP Server, connect them in 12 minutes
Most of the twelve minutes is the gateway compiling, not anything you have to do. The Home Assistant side is two clicks and a token; the OpenClaw side is one curl command and one chat sentence.
- In Home Assistant, go to Settings → Devices & Services → Add Integration → search "MCP". Two options come up, and the one you want is the MCP Server. The other labeled plain "MCP" is a client and silently swallows every tool call OpenClaw makes. That misnaming cost me an evening before I went back and read the second line of the integration card.
- Now you need a long-lived access token. In your Home Assistant profile, the Security tab has a "Long-Lived Access Tokens" section near the bottom of the page. Create one and call it
openclaw-bridgeso when you revoke it later you know what stopped working. Home Assistant renders the raw token string exactly once, then refuses to show it again, which is why a clear name is the only forensic evidence left after the dialog closes.
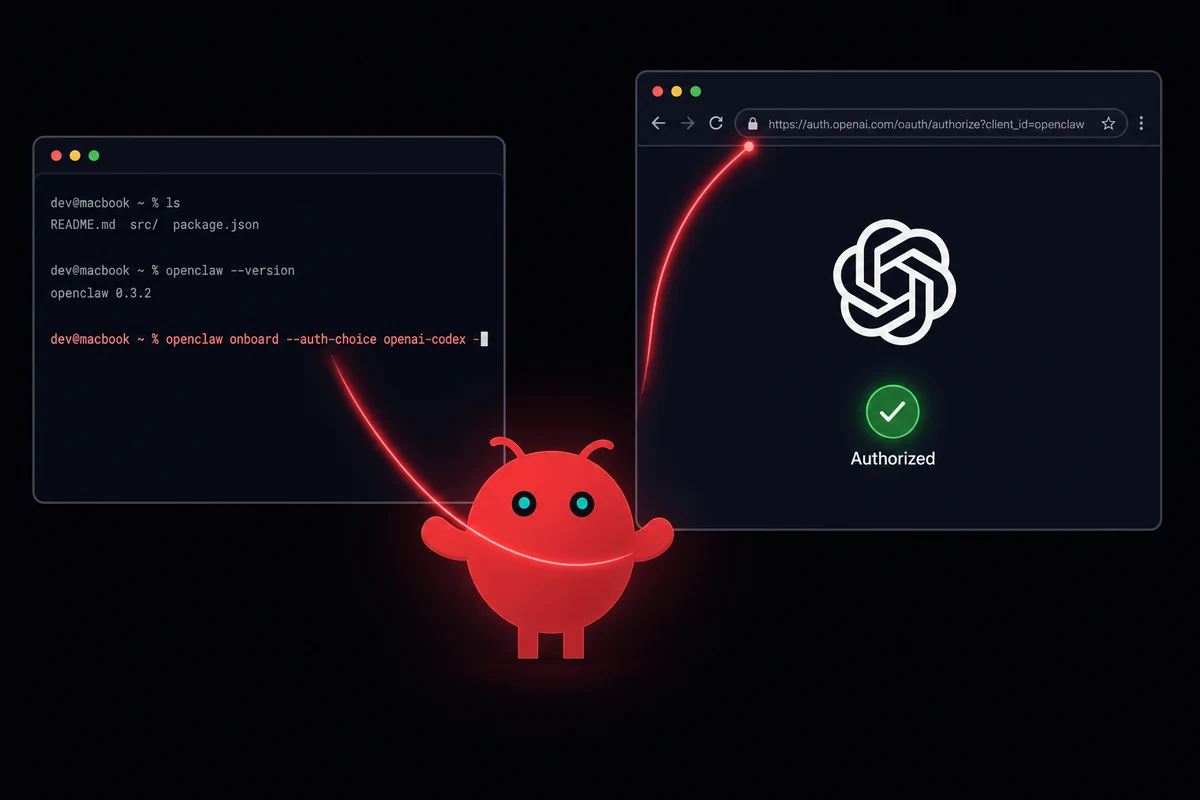
Now the OpenClaw side. The official curl install (curl … | sh) drops the gateway onto your OpenClaw box. After that, openclaw onboard walks the rest. The CLI was called clawdbot onboard until early 2026, so older tutorials still reference the old name. I always re-read the prompt text on a fresh build because the wizard occasionally adds a new step I have not seen before.
The wizard asks first about Homebrew, the OS-level dependency mcporter needs for native packages. Say yes. Next comes NPM, which is what actually installs mcporter itself. Say yes again. The last prompt registers the chat surface. Skipping any of them fails quietly later, when you try to add the Home Assistant server and the command goes nowhere.
- Once onboard finishes, at the chat prompt type
add Home Assistant MCP server with URL <ha-url> and long-lived access token <paste>. OpenClaw discovers the skill, writesmcporter.jsoninto/root/.openclaw/config/, and registers Home Assistant's exposed entities as tools so each is callable by name in chat. - Type
Turn off the smart pluginto chat. A click within a second is your working-bridge tell. If instead the gateway returns "the OpenAI-compatible API is likely disabled", jump to troubleshooting; the symptom shows up on the Home Assistant side but the root cause lives on the OpenClaw side, and that cost me twelve minutes the first time I built this.
What just happened with openclaw mcp home assistant under the hood
OpenClaw's mcporter skill is an MCP client. Home Assistant's MCP Server is an MCP server. They handshake using your long-lived token, then OpenClaw asks Home Assistant which entities are exposed and registers each one as a tool. The list comes back filtered by your Assist exposure settings.
The agent only sees what you exposed in Assist; that filter is your only fine-grained access control. Every tool call also goes out under that single token, so Home Assistant cannot tell the difference between a request you typed and a request a sensor fired. That part is the entire security argument that follows.
For the broader picture of how OpenClaw handles MCP servers on OpenClaw, that piece walks through openclaw.json in detail.
The security objections nobody answers honestly
Prompt injection is the loudest objection on every public OpenClaw thread, and most guides quietly dodge it. Telling an LLM "execute a wire transfer at 10 AM tomorrow" is internally the same instruction as writing it into a config file.
An agent does not know what came from your fingers and what came from a calendar entry an attacker wrote into your shared family Google account. That is the threat model. Operating reality, not paranoia. The OpenClaw threat model walkthrough maps the lethal trifecta (untrusted input plus sensitive data plus an exfil channel) to the day-1 defenses that break the chain.
What the dedicated-user pattern actually buys you:
- Create a non-admin Home Assistant user just for OpenClaw. Name it
openclaw-bridgeto match the token. - In Settings → Voice assistants → Expose, expose only the entities you want OpenClaw to touch. Lights, scenes, climate. Not your alarm. Not your front door lock unless you really mean it.
- Generate the long-lived token from that user's profile. The token now sees only those exposed entities.
- Run OpenClaw in a Docker container on a LAN-only bind. Do not expose the gateway port to the public internet.
- Vet skills before installing. Hundreds of flagged-malicious ClawHub skills circulate as of April 2026. Stick to
mcporterandhomebrewfor this build. - Review what you exposed every quarter. First time I built this I exposed the whole house and forgot. Not great.
That checklist is necessary, not sufficient. The hardest objection is blunt: Home Assistant does not support proper RBAC, so security-minded users refuse to give the agent any Home Assistant token at all.
They are right that Home Assistant's permission model is coarse. A dedicated-user-plus-Assist-filter combo is what we have until Home Assistant grows real role-based controls. Ship anyway, but ship narrowly.
There is a deeper risk too. Anything the agent can read can also tell it what to do. Hand the agent write access to your automation runtime and you have given it the keys to write its own automations.
$0/month: swap the API for Ollama on the same box
API costs can run up very, very quickly on a service that never sleeps. A polling agent that checks state every minute, plus a cron job that summarizes your day, costs nothing on day one and a small monthly ticket by week three.
That refrain keeps showing up on the public OpenClaw thread, and it lines up with what I see when I let GPT-4o-mini drive a polling agent.
The local-model swap is the cleanest cost win in this whole stack. Three steps and one config flag most tutorials skip.
First, install Ollama. On Linux that is one curl install plus a systemd unit. The flag people miss: Ollama listens on 127.0.0.1 by default, so OpenClaw on the same VM but a different container cannot reach it. Edit the service override:
sudo systemctl edit ollamaAdd the environment line:
[Service]
Environment="OLLAMA_HOST=0.0.0.0"
Reload, restart, done. Forget this step and you spend an hour googling "ollama connection refused" while the engine serves only itself.
What to actually pull
Filter Ollama's model list by the tools tag. The tag is what lets a model emit MCP-compatible function calls; without it the model can talk about the smart plug all day and never actually toggle it.
| Model | RAM floor | Smart-plug toggle | Best for |
|---|---|---|---|
| GLM 4.7 Flash | 16 GB | ~2 sec | Chat, daily defaults, what I keep coming back to |
| Qwen3:8b | 16 GB (tight) | ~3-4 sec | Multi-step reasoning, chaining responses across multiple sensors |
| gemma3-tools:12b | 32 GB | ~3 sec | Home-Assistant-aware planning, edge-case room-layout reasoning |
Table: Ollama tools-capable models I run on the home-assistant bridge. RAM floor, latency on a smart-plug toggle, recommended use.
If you would rather start with a cloud provider before migrating to local, OpenClaw's DeepSeek setup covers the cheapest cloud-API path and the same Ollama bridge.
On the OpenClaw side, edit ~/.openclaw/openclaw.json. Add a models.ollama block above the agents field, point it at http://<ollama-host>:11434, and set your agent's primaryModel to glm-4.7-flash. Restart with openclaw gateway restart. The reference for adding a local model covers the ollama provider block field by field; the model-swap CLI handles mid-conversation switches.
Test with Use Home Assistant MCP to turn off the smart plug. If the plug clicks, you are running on $0/mo tokens.
The honest tradeoff is latency. GLM 4.7 Flash on a 16 GB box answers a smart-plug toggle in maybe two seconds. Fine for chat, laggy for voice. For sub-second voice, you need beefier hardware or a paid API on the voice path with Ollama elsewhere.
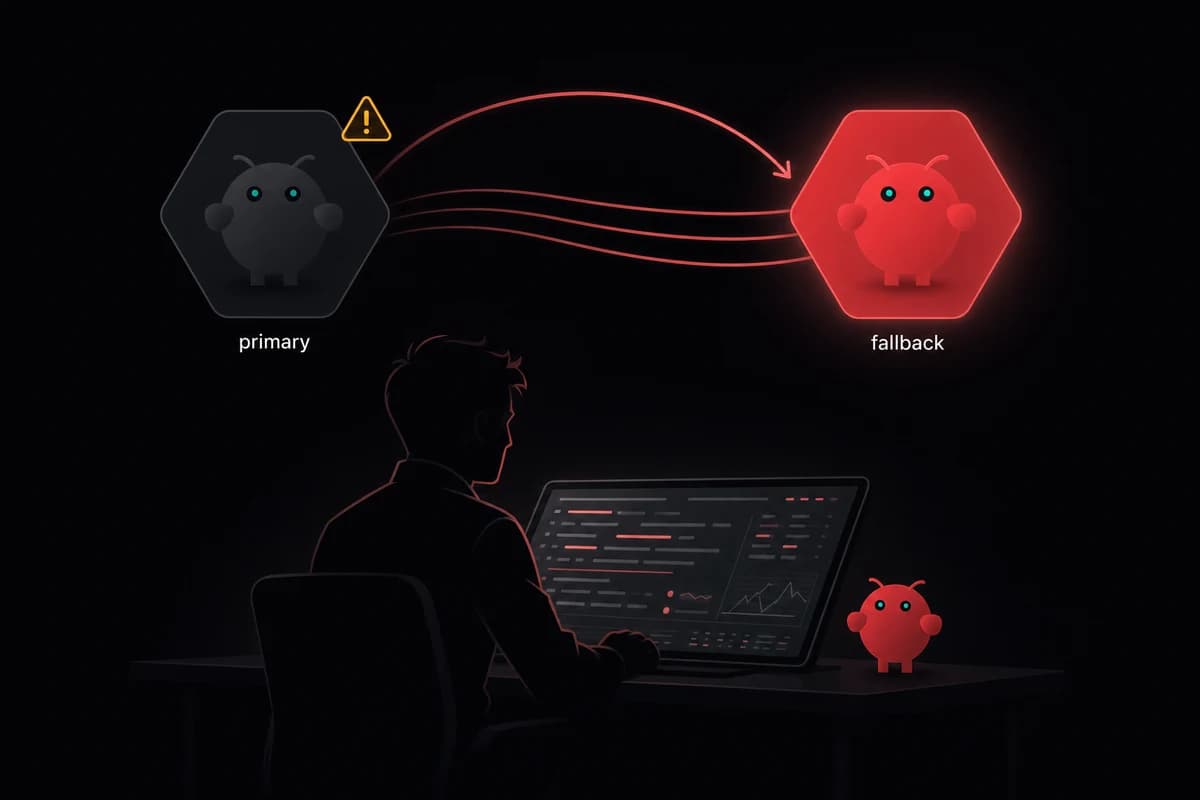
When the bridge breaks: the four failures I hit
Two debug sessions before I read the actual error text. The error said exactly what was wrong. I just did not believe it.
Here are the four failures I have hit on three different builds, in the order I usually see them.
Failure 1: "the gateway returned an unexpected response." Full text: "the OpenAI-compatible API is likely disabled." This is a config flag that ships off in some recent OpenClaw releases and the Home Assistant integration cannot see why nothing works.
openclaw config set gateway.http.endpoints.chatCompletions.enabled true
openclaw gateway restart
That is the entire fix. It solves the problem in one shot.
Failure 2: you picked "MCP" instead of "MCP Server" in Home Assistant. Symptom: the bridge installs without complaint, OpenClaw confirms it added the server, every tool call returns nothing. No error. Just dead air.
Fix: remove the wrong integration, add MCP Server (with the word Server), regenerate the token if you want to be paranoid, redo the chat command. Twelve minutes of confusion, four minutes of fix.
Failure 3: Ollama on 127.0.0.1 instead of 0.0.0.0. Symptom: connection refused from the OpenClaw container to the Ollama port. Fix:
sudo systemctl edit ollama
# add: Environment="OLLAMA_HOST=0.0.0.0"
sudo systemctl daemon-reload
sudo systemctl restart ollama
Verify with curl http://<ollama-host>:11434/api/tags from the OpenClaw container; the model list confirms it.
Failure 4: wrong model. You pulled an Ollama model without the tools tag. Symptom: OpenClaw narrates what it would do but never emits a tool call. The model is incapable of calling MCP. Fix: pull a tools-capable model (GLM 4.7 Flash, Qwen3:8b, gemma3-tools:12b), update primaryModel in openclaw.json, restart the gateway.
Silent failure across all four. None throw a useful error in the chat UI. You have to know the symptom and the cause separately.
| Symptom | Source | One-line fix |
|---|---|---|
the OpenAI-compatible API is likely disabled | OpenClaw config flag off by default in recent releases | openclaw config set gateway.http.endpoints.chatCompletions.enabled true then restart gateway |
| Bridge installs cleanly, every tool call returns nothing | Picked "MCP" instead of "MCP Server" in Home Assistant | Remove wrong integration, add MCP Server, redo chat command |
| Connection refused from OpenClaw to Ollama port | Ollama bound to 127.0.0.1 instead of 0.0.0.0 | Environment="OLLAMA_HOST=0.0.0.0" in the systemd override, daemon-reload, restart |
| Agent narrates but never emits a tool call | Pulled an Ollama model without the tools tag | Pull GLM 4.7 Flash / Qwen3:8b / gemma3-tools:12b, update primaryModel in openclaw.json, restart |
Table: OpenClaw + Home Assistant bridge failures. Symptom, source, one-line fix.
Debugging your gateway gets old around failure three. With OpenclawVPS, the gateway config, updates, and the OpenAI-compatible endpoint flag are handled for you. Your only job is the Home Assistant token.
What this stack can actually do once it is running
Lights, scenes, climate, the obvious ones. Voice control over anything you exposed in Assist. Table stakes; every guide leads with it.
The stuff worth building this for sits one layer above:
- It schedules itself. Type "send me a smart-home news summary at 17:30 daily" and OpenClaw self-installs as a cron job. Your timezone is whatever you tell it, and the summary lands in whatever channel you connected.
- It writes its own dashboards. A natural prompt gets you a YAML file and an explanation. A templated prompt naming the task, requirements, and restart command gets real entity IDs, Lovelace YAML on disk, and Home Assistant restarted. Being explicit makes the agent perform an order of magnitude better.
- It writes its own Home Assistant skill on the fly. When no ClawHub skill exists for the job, OpenClaw can generate one against Home Assistant's REST API and install it. I watched this happen for a custom climate-zone aggregator. Wild and slightly unsettling.
- It clicks through Home Assistant's UI like a human when the API cannot. Asked to create a native Home Assistant automation, OpenClaw found the REST API does not support that, opened a browser via the OpenClaw browser relay, logged in with credentials I provided, and clicked through the automation editor. The result showed up in Home Assistant, indistinguishable from one a person built.
- It rides the same service to other channels. The agent answering you in Home Assistant's chat card is the same agent that answers you in Telegram, WhatsApp, or Discord. One brain, multiple mouths.
That last bullet is the actual differentiator versus every other Home-Assistant-to-LLM bridge. Most projects in this space connect Home Assistant to one model through one chat surface.
OpenClaw connects Home Assistant to your agent, and the agent connects to wherever you talk to it. If that "wherever" is a phone, running OpenClaw on Android over Termux carries your Home-Assistant-aware agent around without a hosted API.
How I run OpenClaw + Home Assistant 24/7
The gateway, Ollama, the Home Assistant integration, and OpenClaw itself all need to stay up together. OpenclawVPS handles the install, the gateway config, the OpenAI-compatible endpoint flag, and EU-region hosting in Falkenstein, Nuremberg, or Helsinki. Provisioning takes 47 seconds. Plans start at $19/month with a 3-day money-back guarantee.